Guide for Scheduling Meetings In Microsoft Outlook Calendar
Create a Roam Meeting directly in your Outlook Calendar
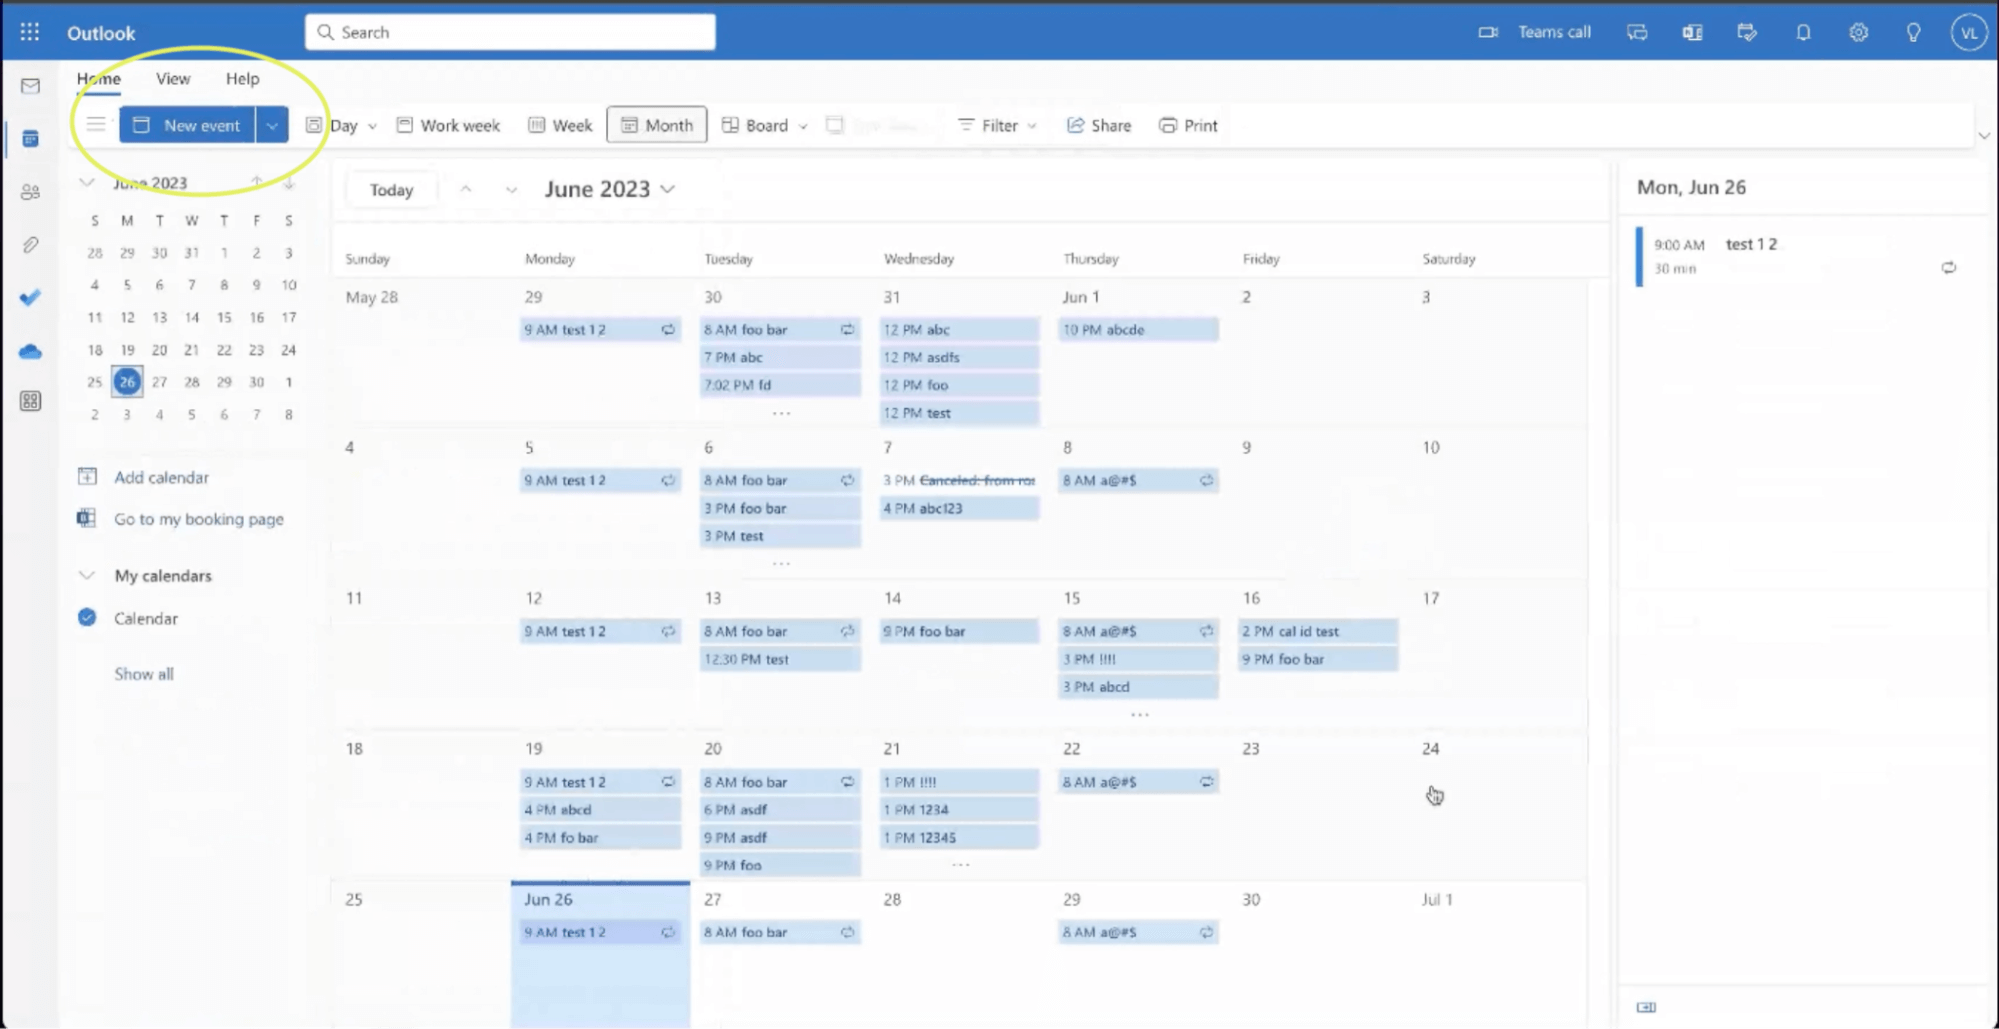
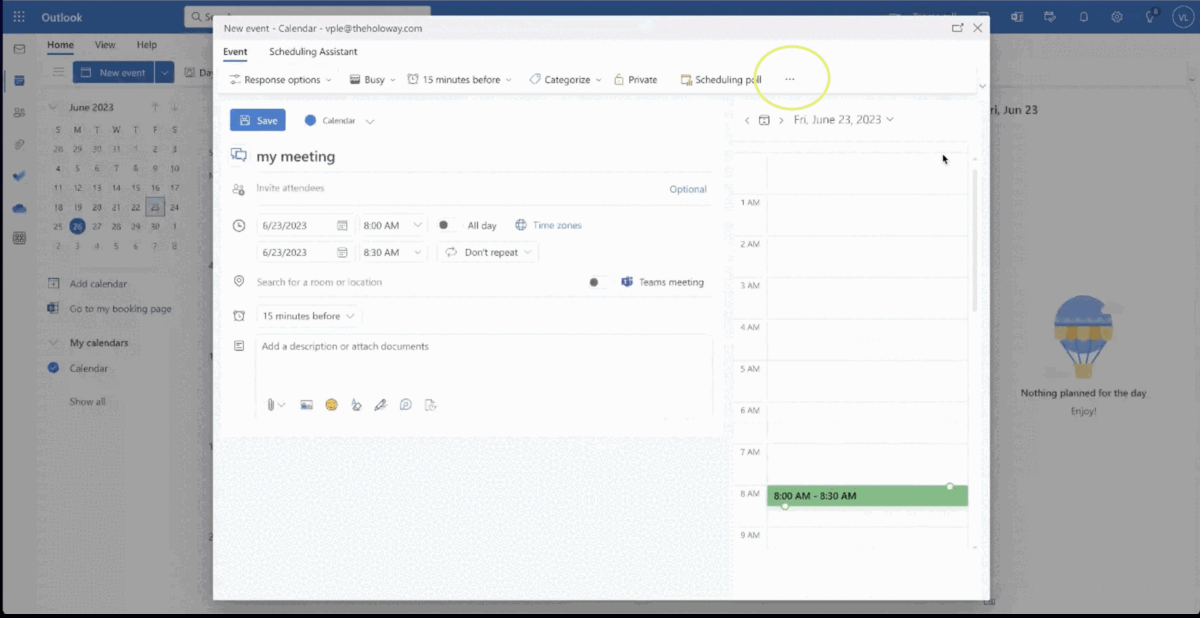
First, create a new event in the Outlook Desktop App (Mac or Windows) or web app.
Now, click to see the dropdown, and select Roam Meeting. This will create a floor link.
You can also add a room to hold a meeting directly in a specific office or room. After saving the event in your Outlook Calendar, go into Roam and click “Cal” to see the event and all of your upcoming events for today:

Select an event and there you can choose a room in your Roam. This will update your link to bring guests directly to that specific room.

If you don’t add a room, your guests will arrive in Reception.
Schedule Meetings Natively in Roam
You can also schedule meetings directly in Roam that will show up in your Outlook Calendar. There are two way to do this:
1. Schedule a Meeting using the Cal button
Navigate to the calendar icon on the bottom right of your screen.
When open, click on the top right to create a new calendar event.

Use the “New Calendar Event” window to enter your meeting details.

Click “Add Event” when done.
Your event is now created and will also appear in your Microsoft 365 Calendar.
2. Schedule Meetings From Roam Chat
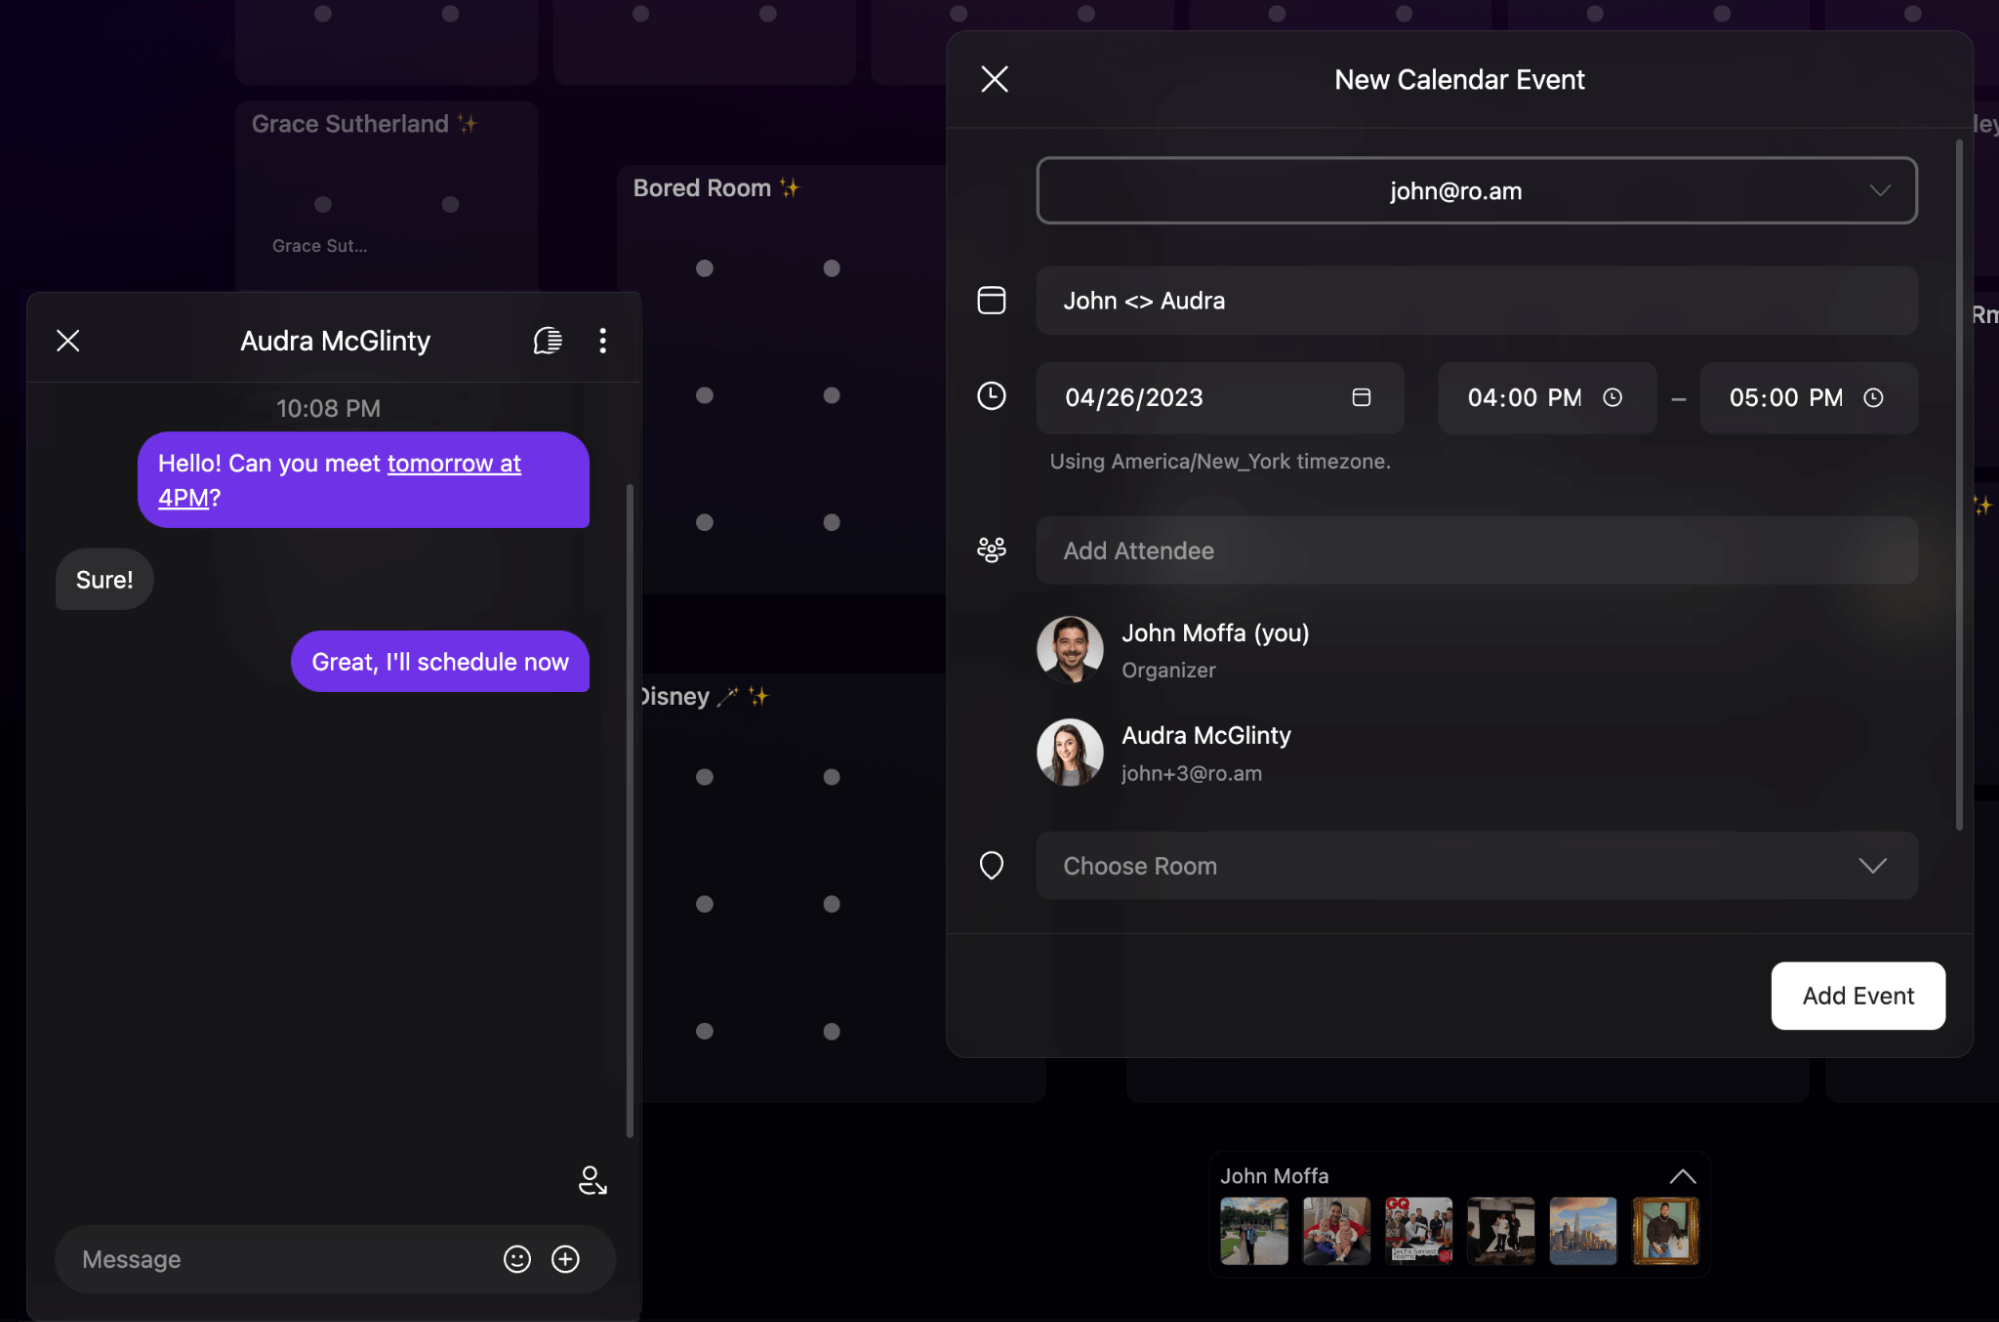
You can also schedule meetings directly in Roam Chat.
Write a message in Roam chat that includes a date and time. Our natural language processing will underline the date and time.
Click the underlined text to instantly create an event. These events will show up in your Microsoft Outlook Calendar.
Add the Roam Meetings Add-in to your toolbar in Outlook Calendar
After you’ve installed the Roam Meetings Add-in in Outlook, you can customize the toolbar on your Outlook desktop and web app for quick access to the add-in.
Note: When you update the toolbar on your Outlook desktop app, the change will sync to the toolbar on your Outlook web app, and vice versa.
Adding the Roam Meetings Add-in to your toolbar in the Outlook Desktop App
- When scheduling a meeting or creating an event via Outlook, click the More icon at the top right, then click Customize Toolbar.

- On the list of installed add-ins on the right-hand side, click Roam Meetings and drag and drop it onto your main toolbar.

- The Roam Meetings Add-in will be shown in the toolbar when you create a new Calendar event.

Add the Roam Meetings Add-in to your toolbar in the Outlook web app
- Navigate to Settings by clicking the gear icon at top right, then select View all Outlook settings.
- Click Calendar, then click Customize actions.
- Check the box next to Roam Meetings Add-in.
- Click Save at bottom right. The Roam Meetings Add-in will be shown in the toolbar when you’re scheduling a meeting.

Please reach out to us via Team Roam Support Chat if you have any questions or additional help scheduling Roam Meetings.